
Before You Start
Install rēlā on the PC that will run your golf simulator setup. Have your launch monitor vendor software and simulator software installed before running the installer.
| If you use | Have this ready before setup |
|---|---|
| SkyTrak | The SkyTrak app installed on your PC. |
| Foresight GC2 | No Foresight vendor component setup is required by the installer. Drivers are required for USB connections. |
| FlightScope Xi/X2 | The correct FlightScope app installed on your PC. |
| GolfJoy | The GolfJoy app installed on your PC. |
Installation Walkthrough
Start Setup and Review the License
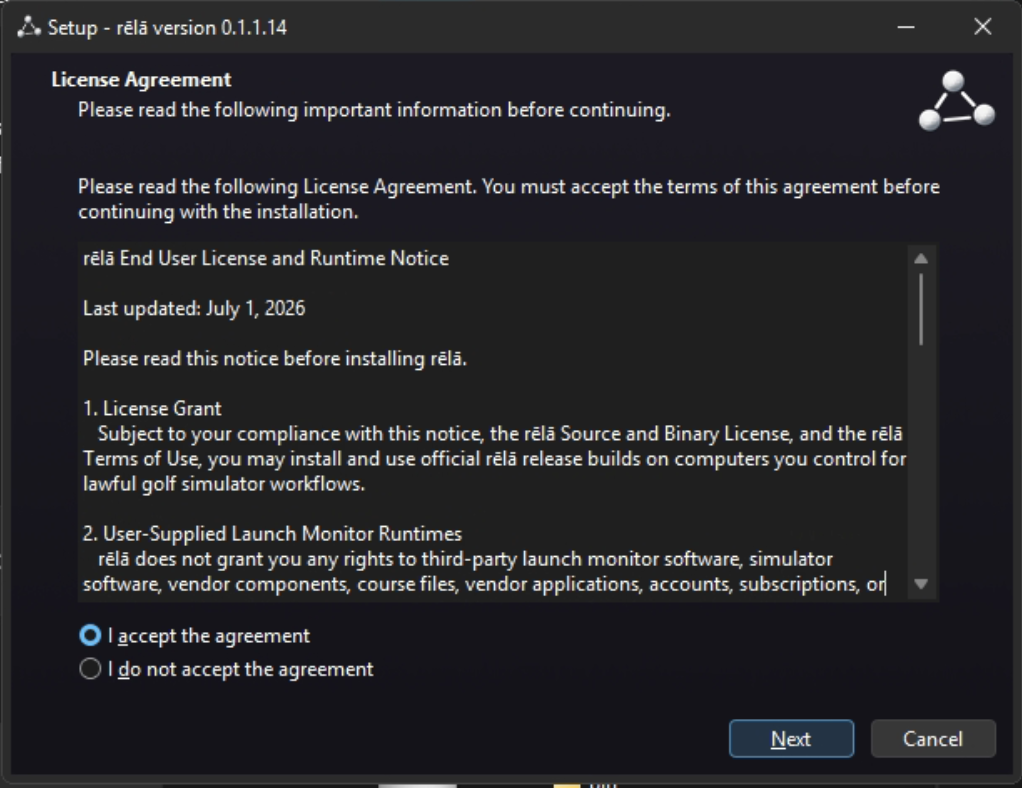
Run the rēlā installer. Review the license and runtime notice, select I accept the agreement, then click Next.
Select the Launch Monitors You Own
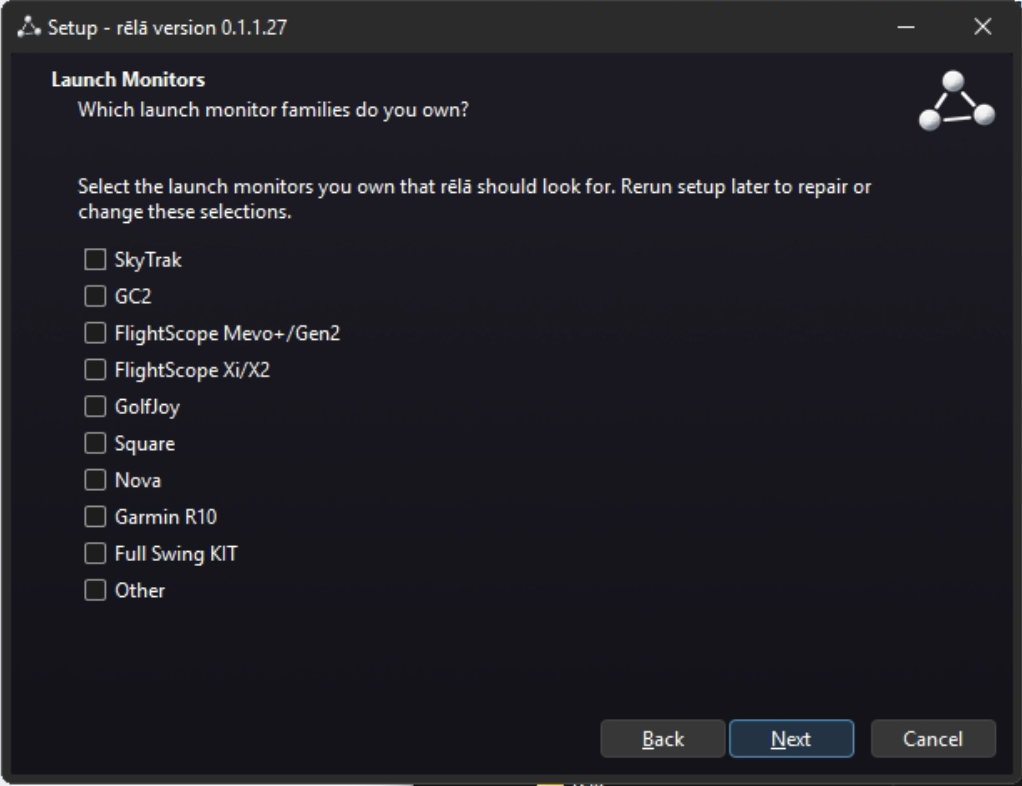
Select only the launch monitors you own and want rēlā to prepare. This selection controls which local vendor software setup checks run.
Choose the Primary Launch Monitor
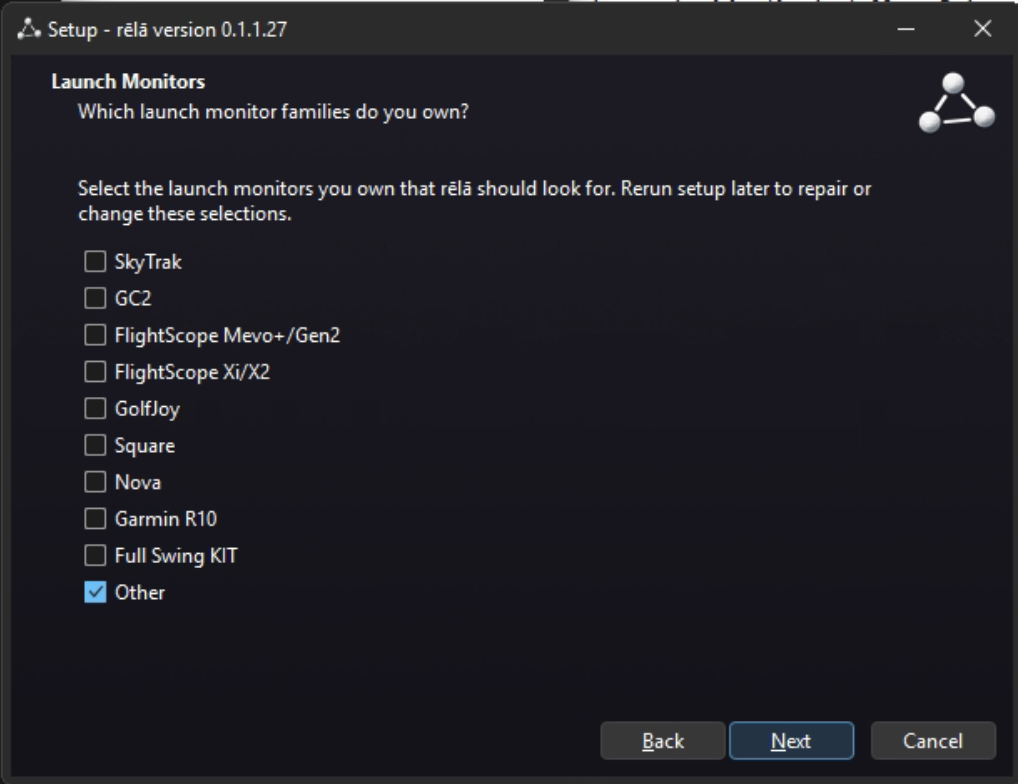
Select the launch monitor rēlā should use by default. You can change this later in rēlā.
Select Simulator Outputs
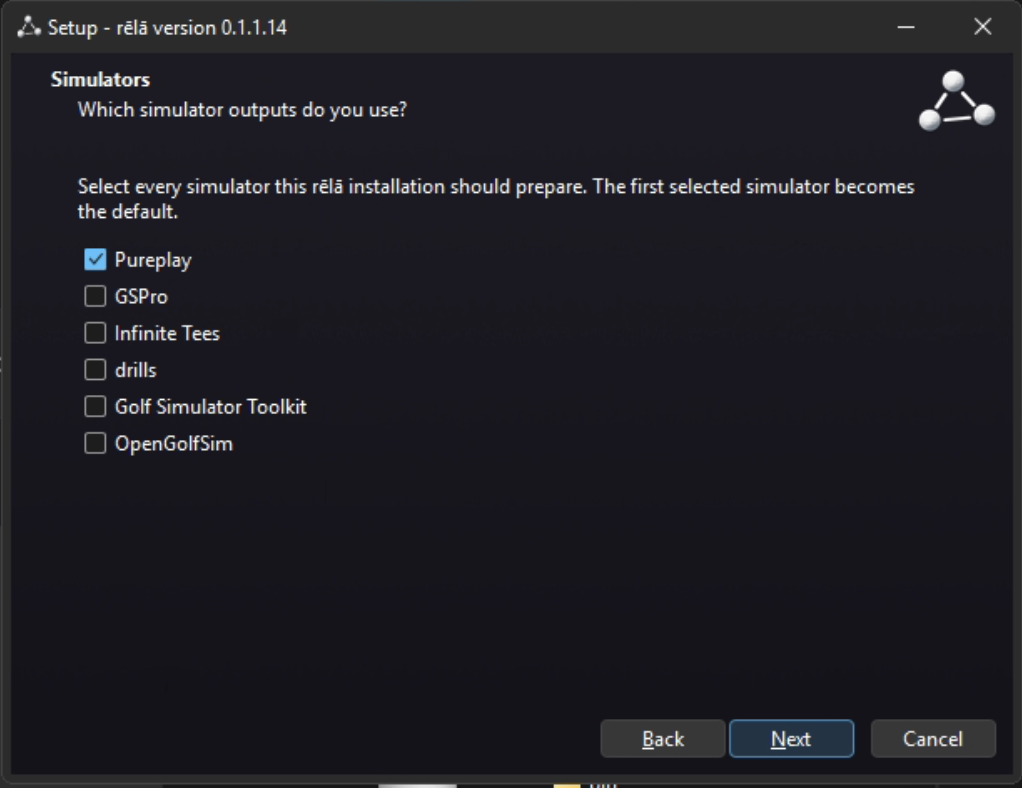
Select each simulator output this rēlā installation should prepare. The first selected simulator becomes the default.
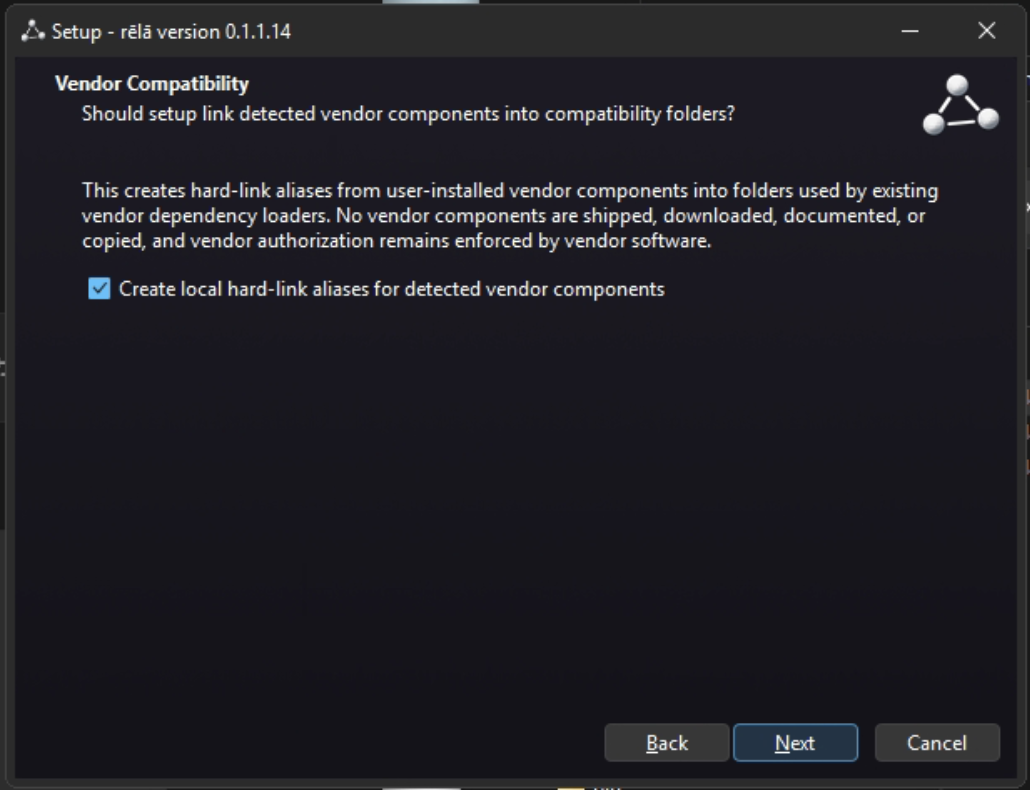
Allow Vendor Compatibility Linking
Leave vendor compatibility linking enabled unless you have a specific reason to configure vendor component paths manually. This lets setup create local links to user-installed vendor components when an integration requires them.
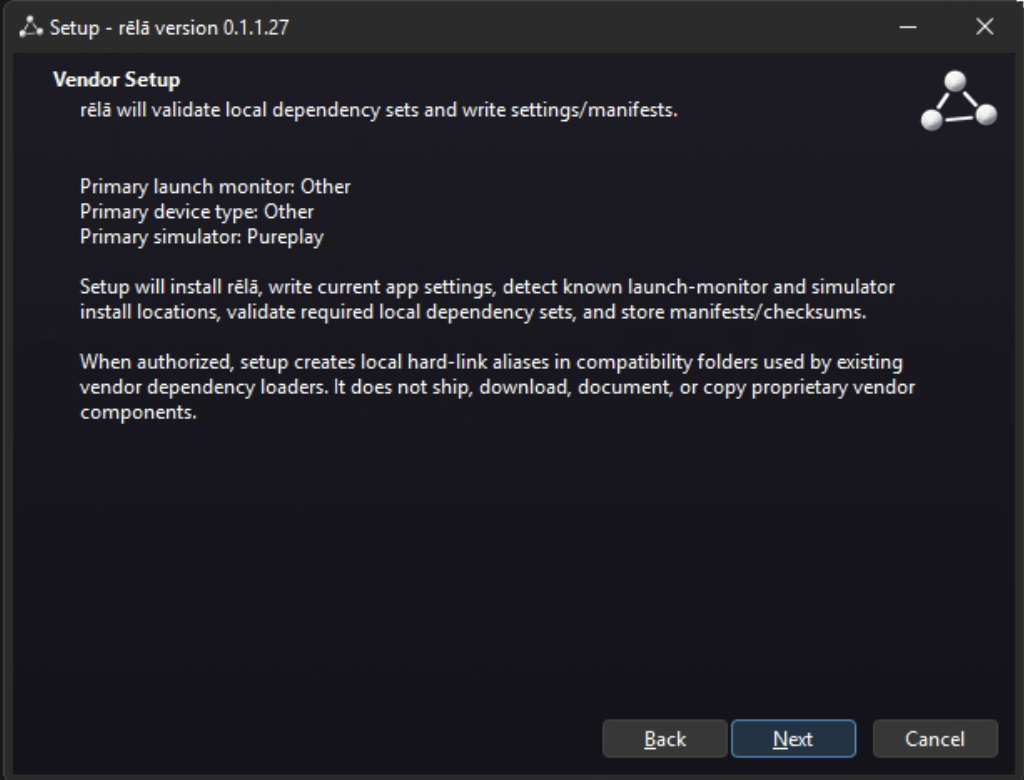
Review Vendor Setup
Review the selected launch monitor, device type, simulator, and vendor compatibility behavior. Click Next when the summary matches the setup you want.
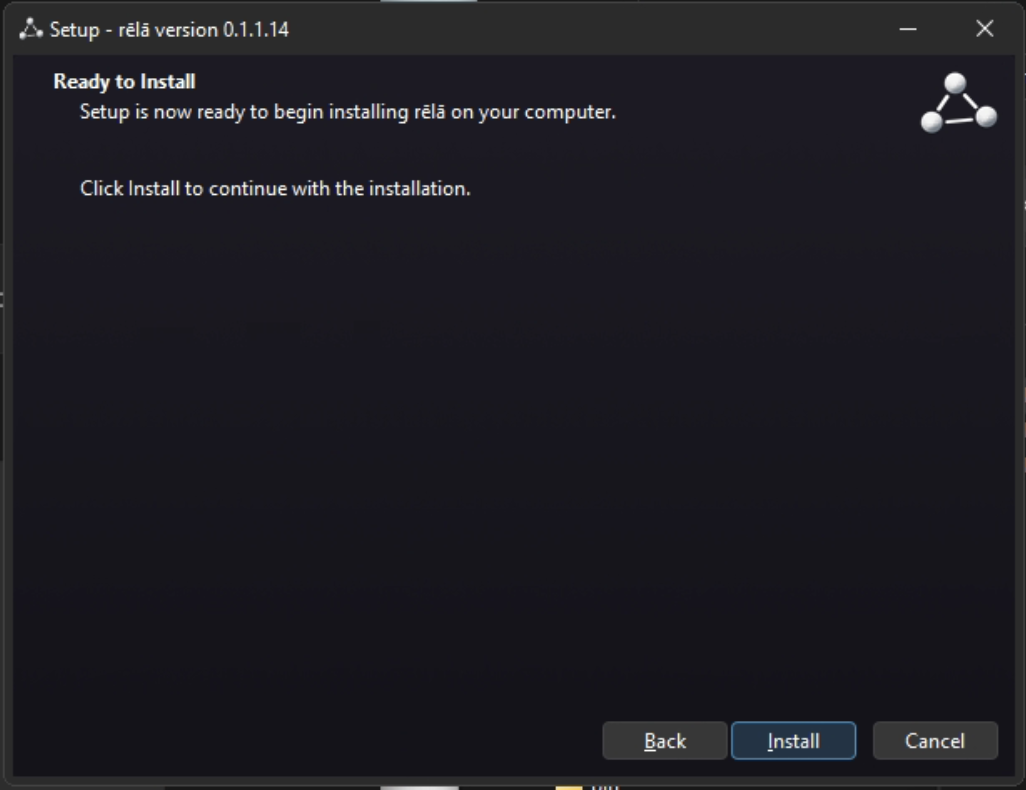
Begin Installation
On the Ready to Install page, click Install to start installing rēlā.
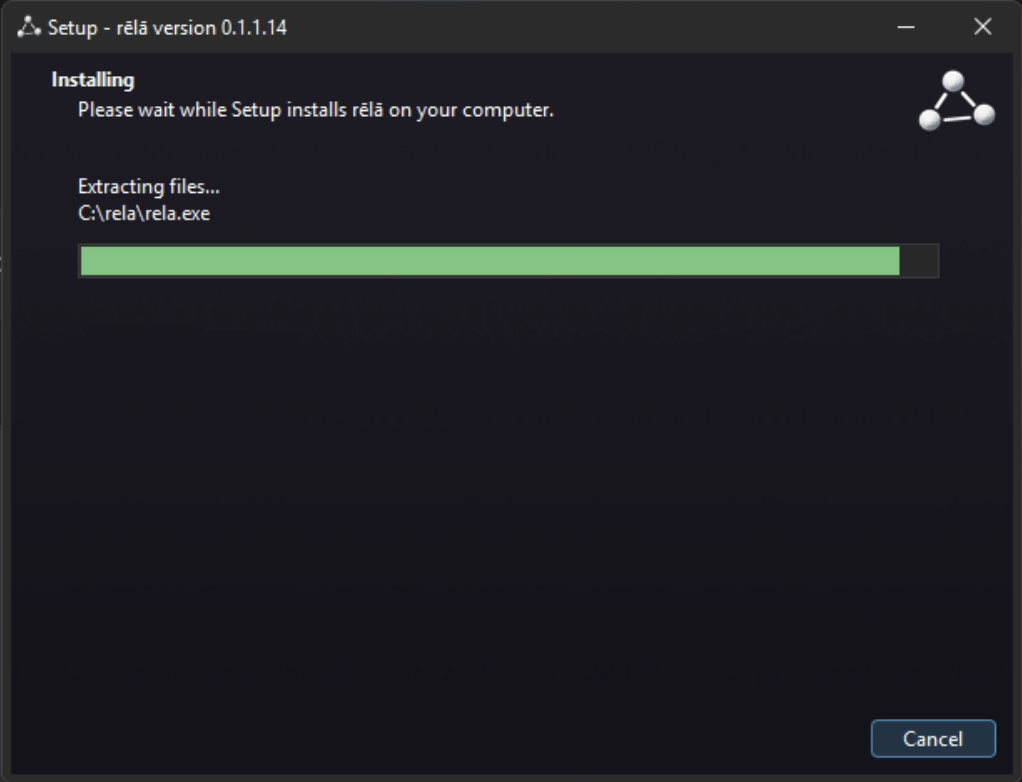
Wait for Setup to Finish
Setup extracts files and prepares the selected integrations. Wait for the progress page to advance automatically.
Read the Final Setup Result
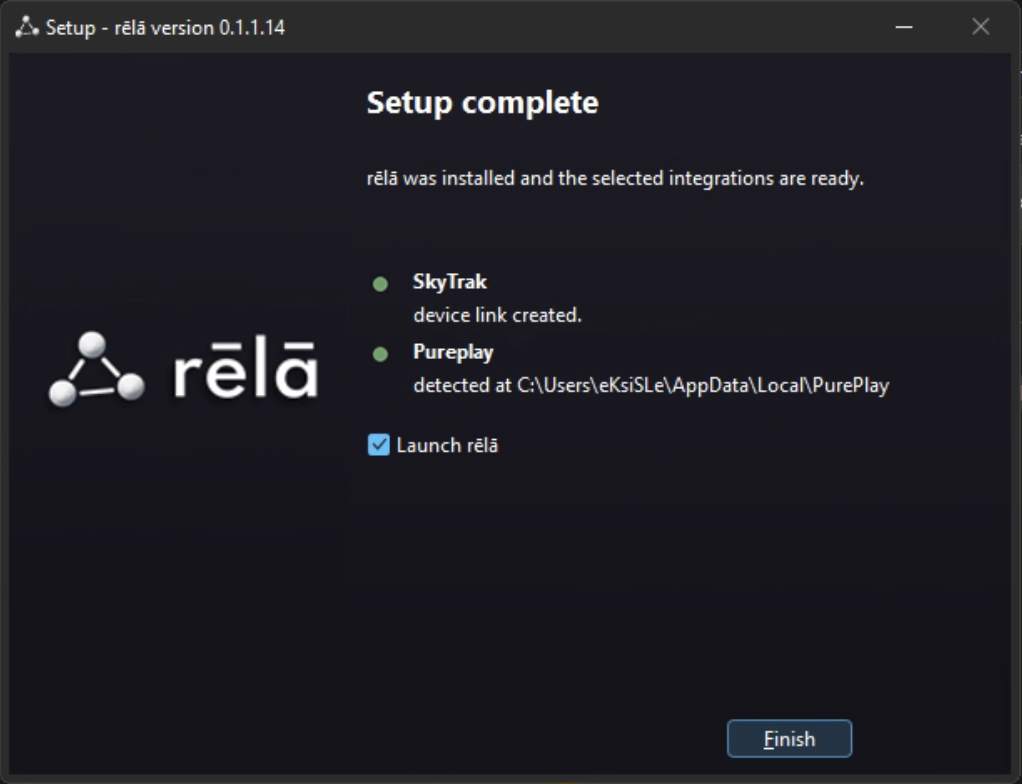
The final page shows one result per selected integration.
If Setup Needs Attention
Use the red result line to decide what to fix, then rerun setup or use repair/setup again.
| Message | What to do |
|---|---|
| Required vendor components not found | Install the vendor app listed in the message, then rerun setup. |
| Required vendor components are located on a different disk | Install rēlā and the required vendor software on the same disk, then rerun setup. Use official installers or normal Windows uninstall/reinstall flows; do not manually copy vendor files. |
| Device link not created | Review the message detail. Most link failures are caused by missing vendor software or required software being on a different disk. |
Successful Setup
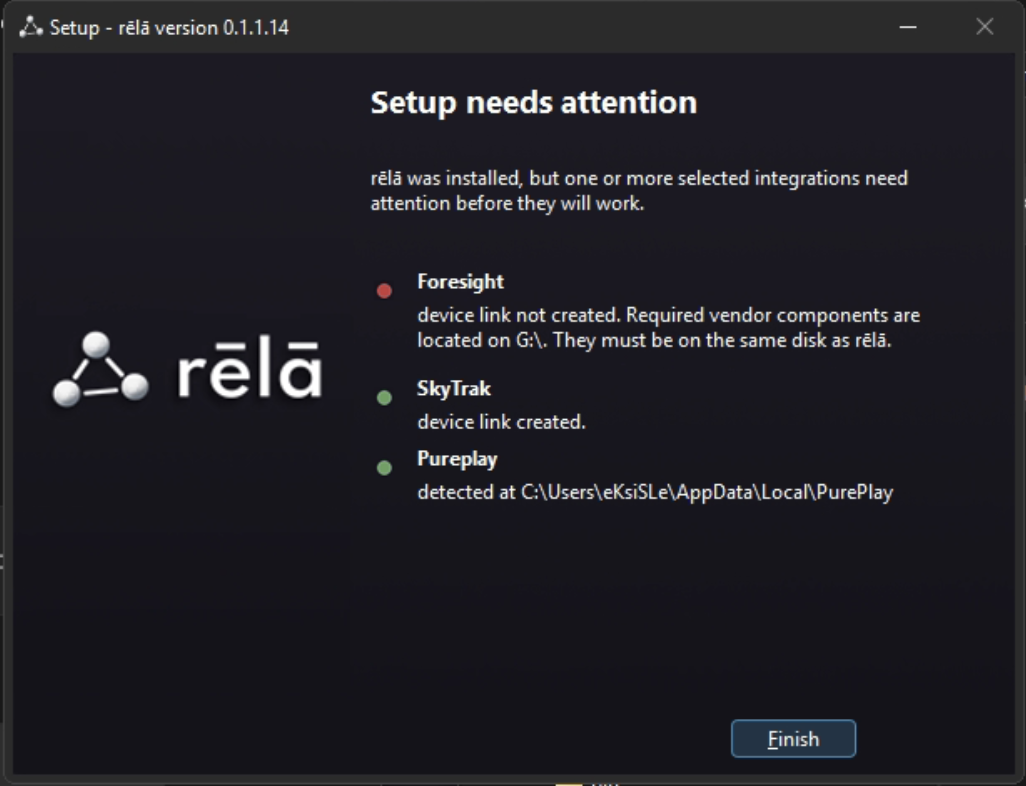
When setup completes without any red items, the final page says setup is complete and shows the selected integrations as configured. You can launch rēlā from the final page or from the desktop shortcut.